DIY Wood Bow Tie

My husband and I just celebrated our anniversary!  The traditional gift for 5 years is wood!  I can do this!  I started my Googling research and landed upon this fun website DIY Huntress.  BINGO!  I had my gift idea!  Time to bust out the tools…..

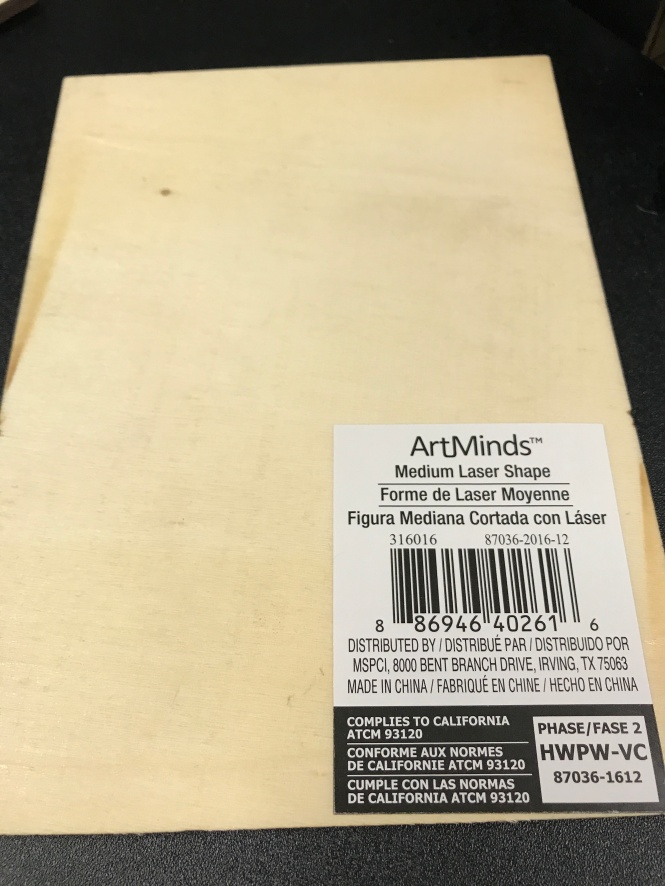
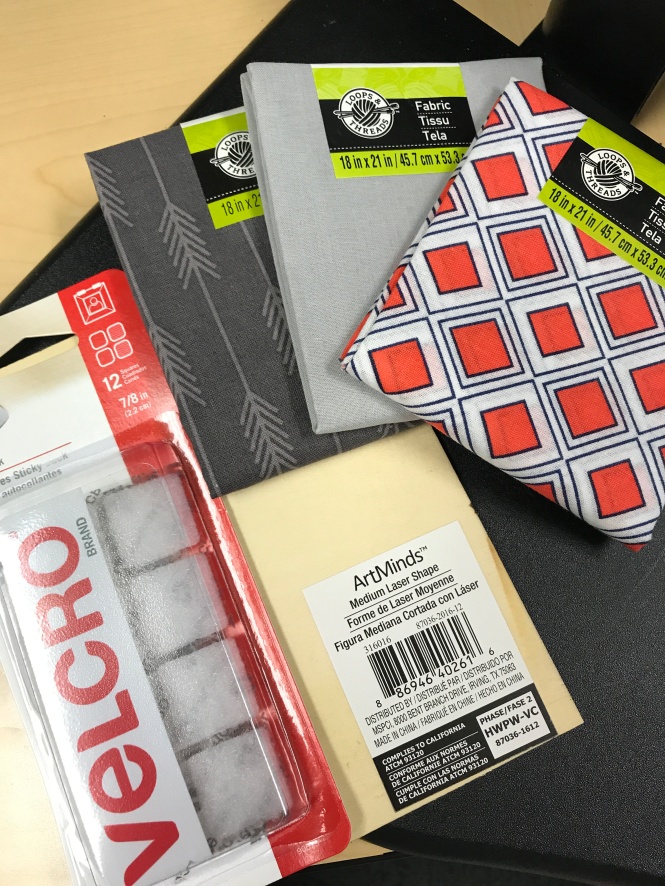
I purchased craft board at Michael’s.

IMG_2635

As well as some fabric, Velcro and sewing elastic.

IMG_2636

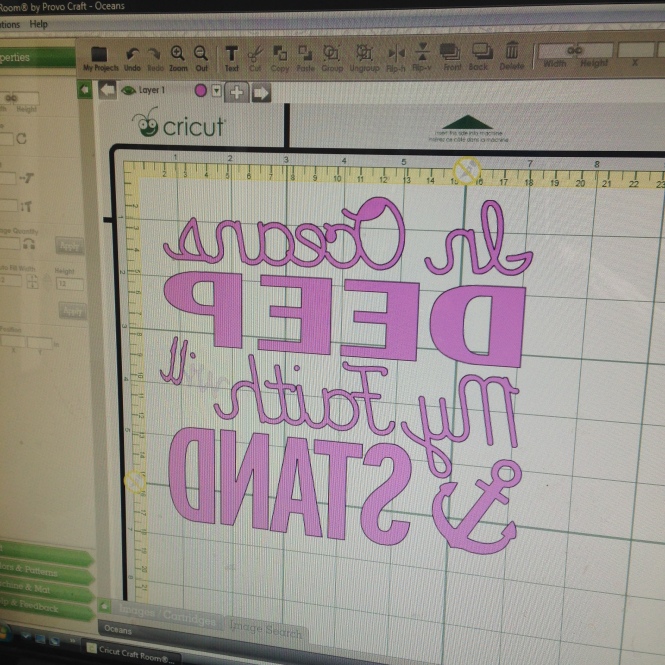
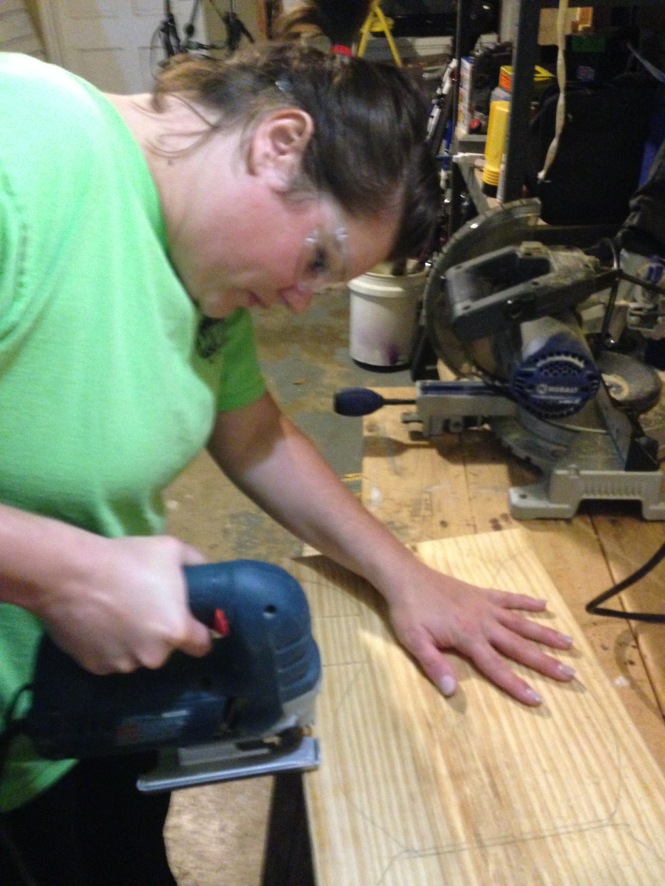
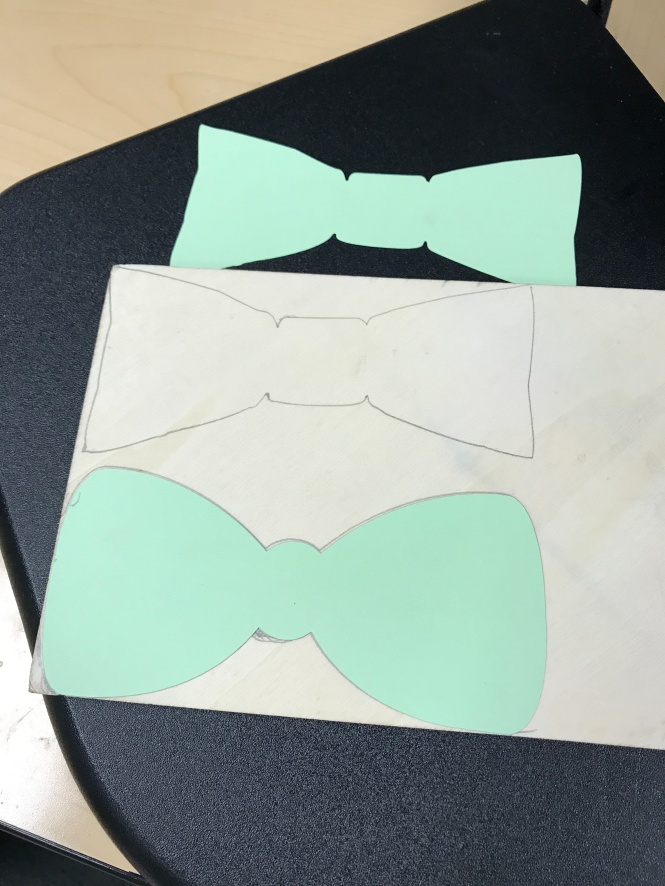
DIY Huntress was kind enough to include a bow tie template.  Just cut out the image then trace onto your wood.

IMG_2634

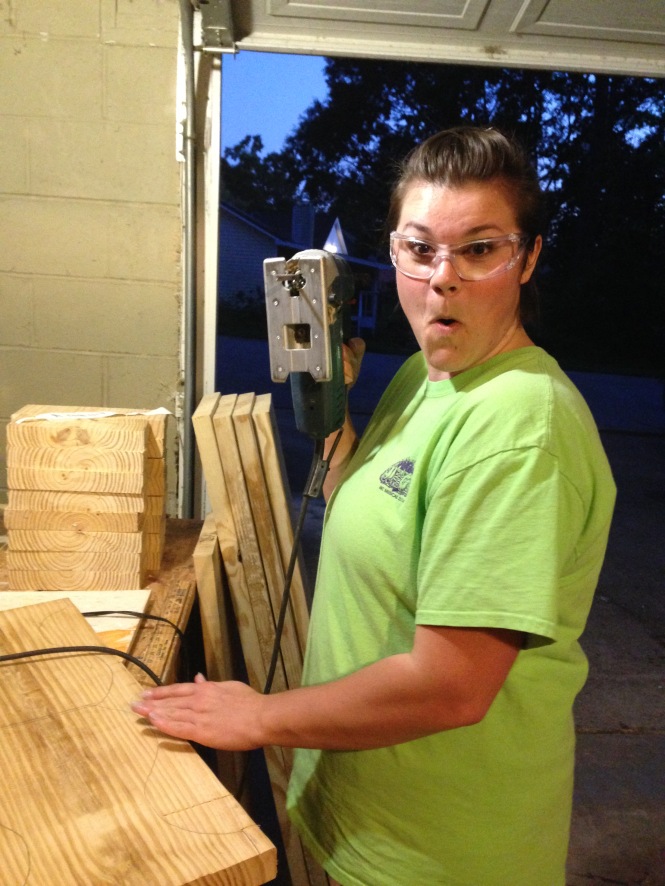
I used a jigsaw to cut out my bow ties then sanded the edges smooth by hand.

IMG_2647

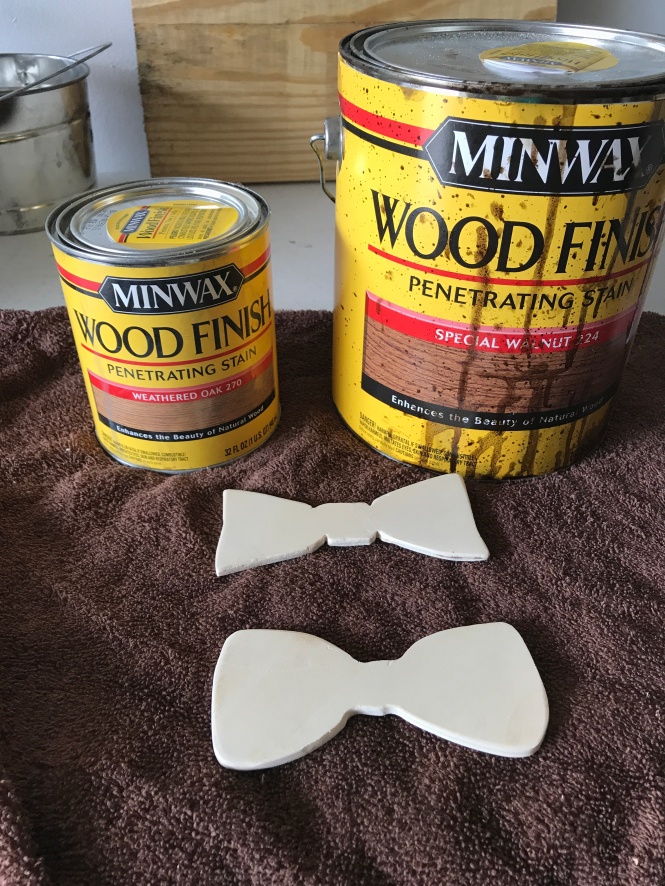
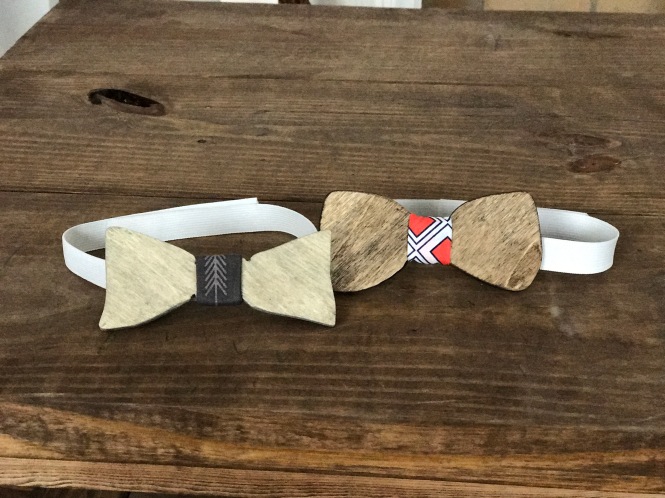
I stained them in Weathered Oak (top) and Special Walnut (bottom).  *heart eyes*

IMG_2648

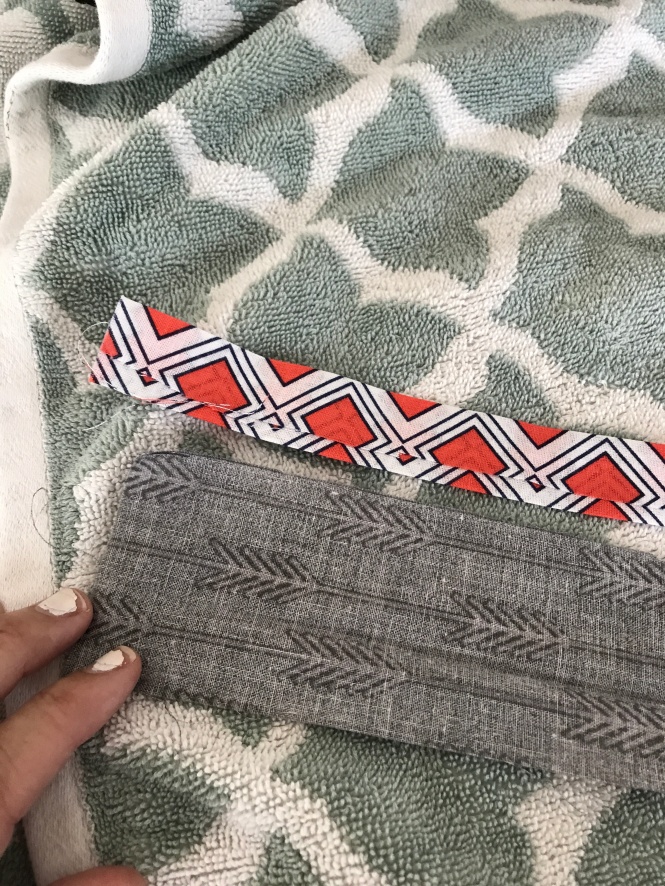
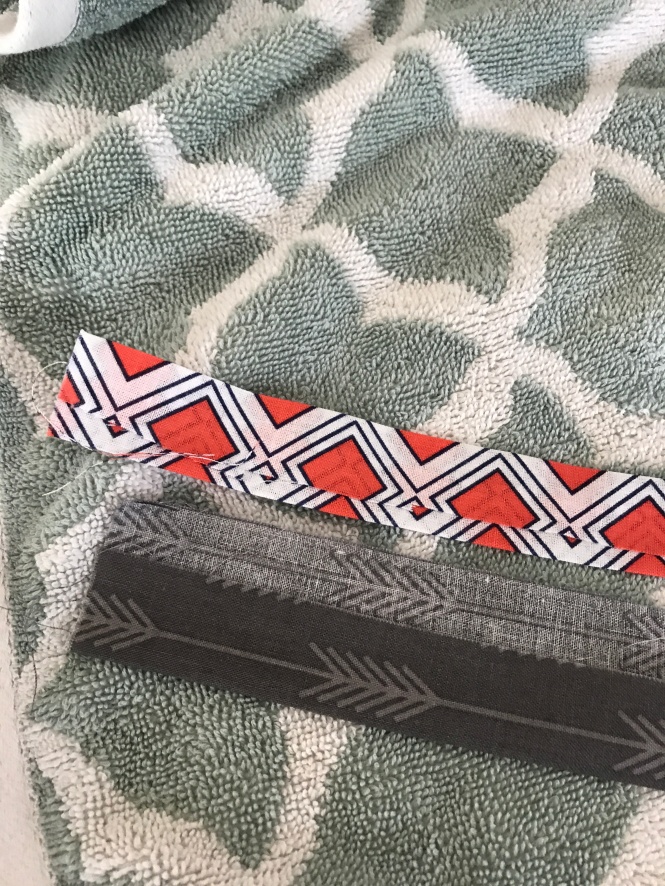
I cut my fabric in 2″ wide strips, folded to the middle then ironed flat.
(Note to self: get manicure!)

IMG_2649IMG_2650

I cut my Velcro squares in half so it would fit on my elastic.

IMG_2656

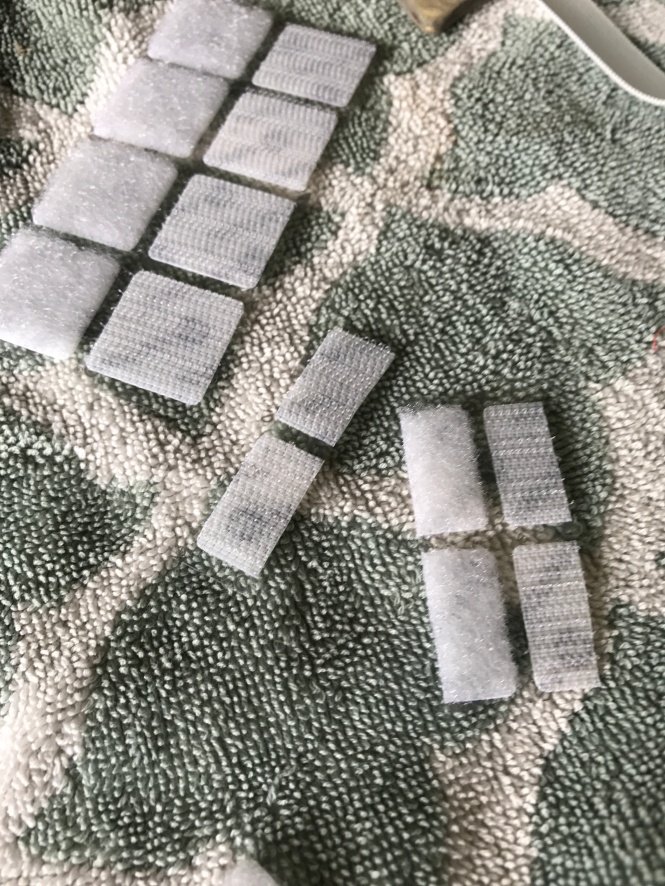
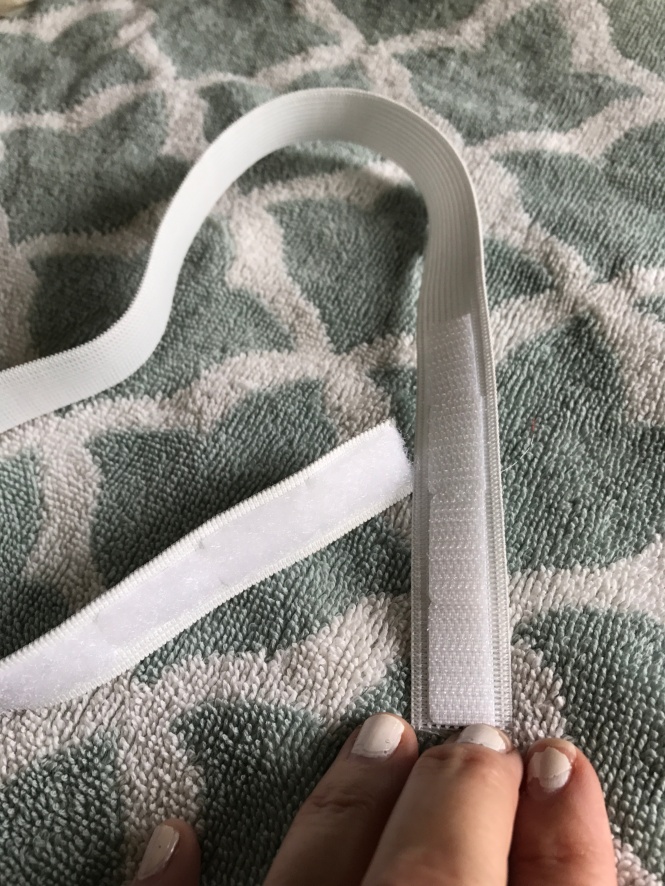
Cut elastic to the desired length then attach the Velcro.  Pay close attention to how you attach the Velcro.  You want to place it on the correct sides of the elastic so it will fasten in the back around the neck.

IMG_2652

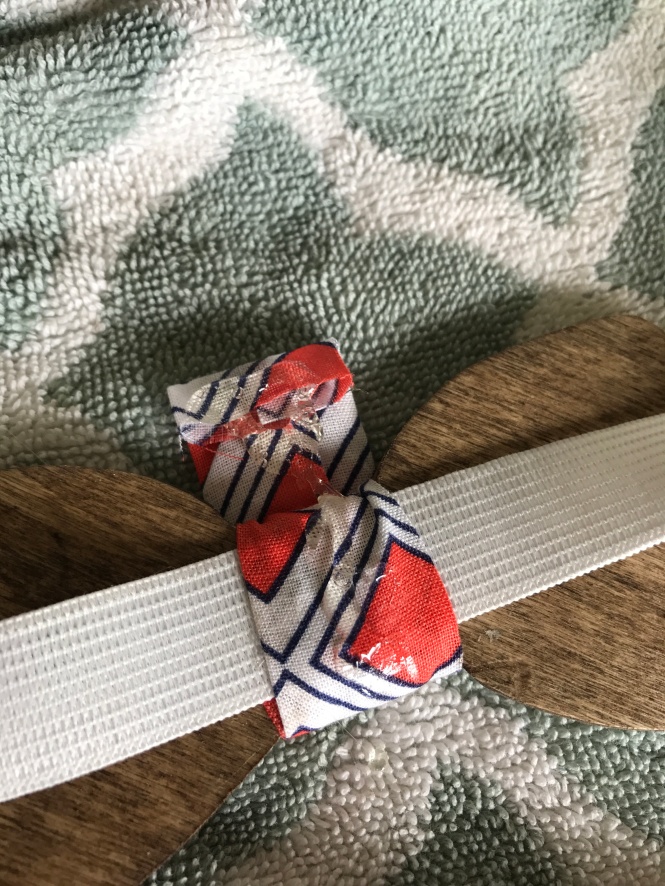
I used hot glue to attach my fabric and elastic to the wood.   IMG_2651

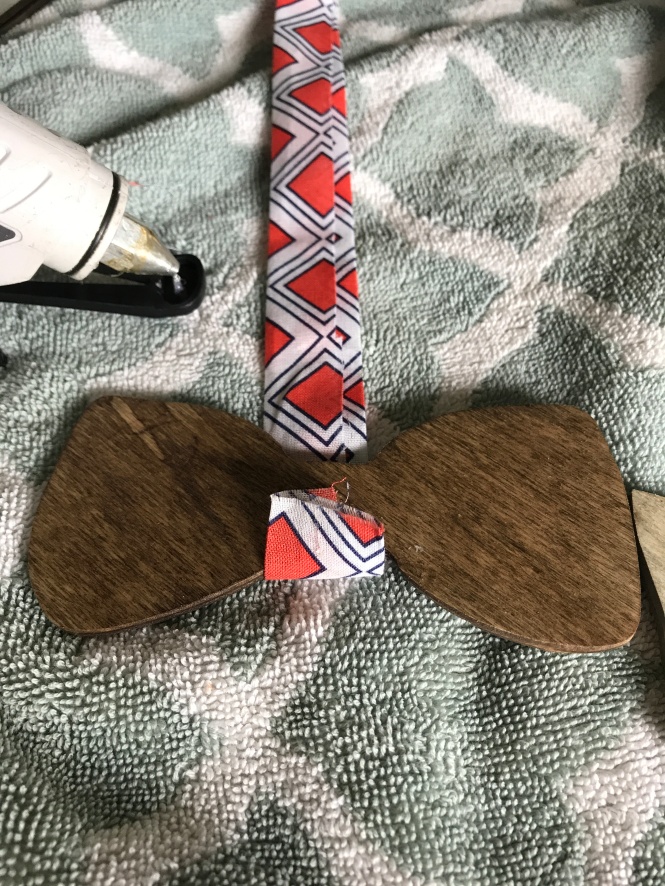
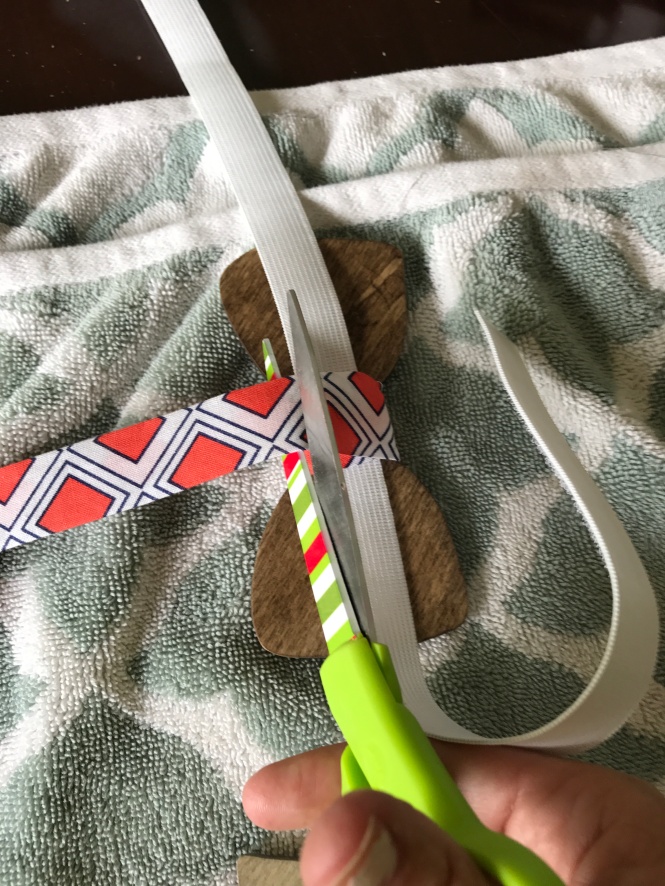
Wrap the fabric once, then glue down your elastic and wrap again.  Cut off the excessive, leaving a small bit of fabric.

IMG_2654

Fold end of fabric over to prevent fraying – finish and secure with hot glue.

IMG_2655

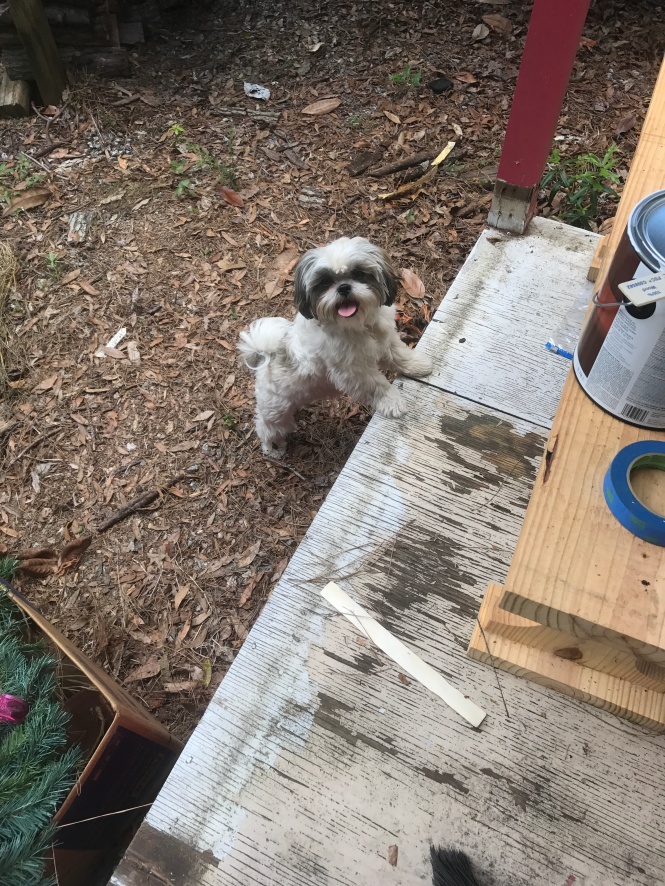
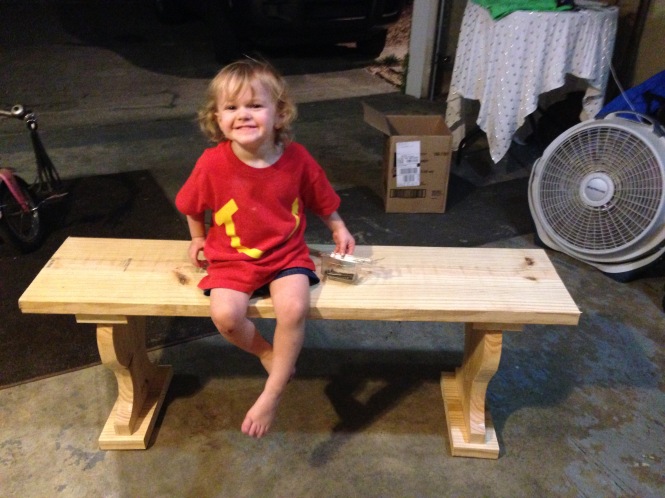
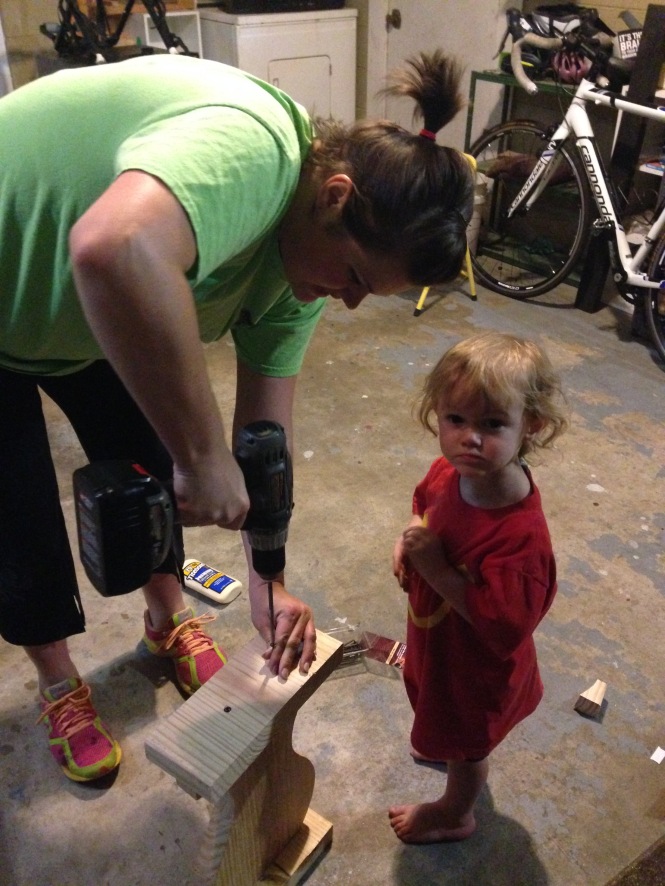
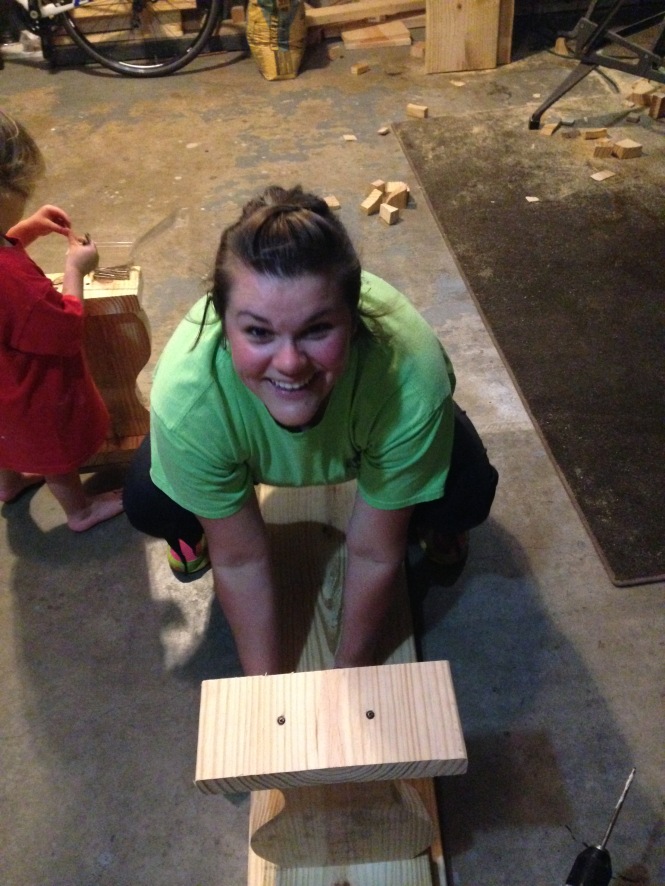
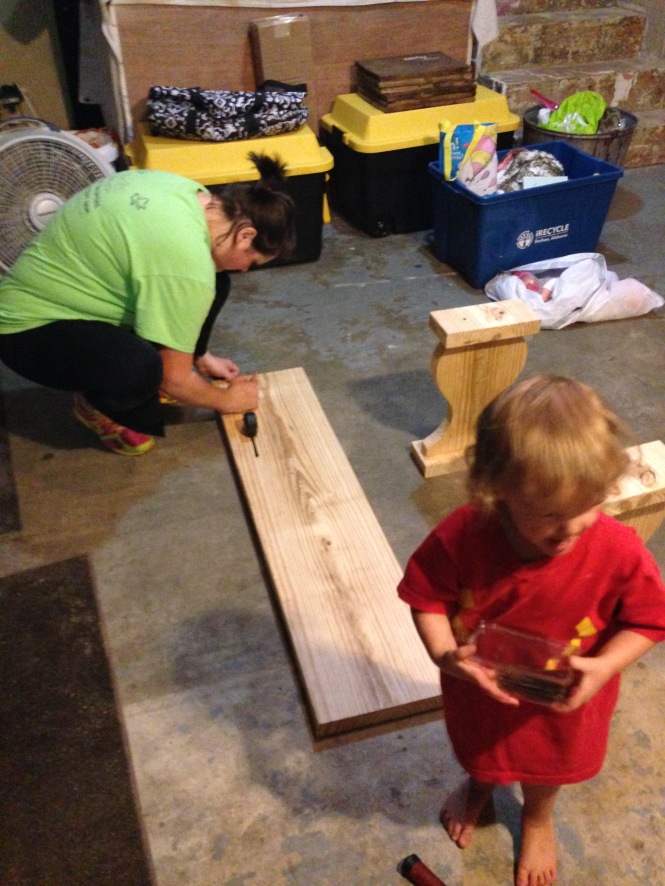
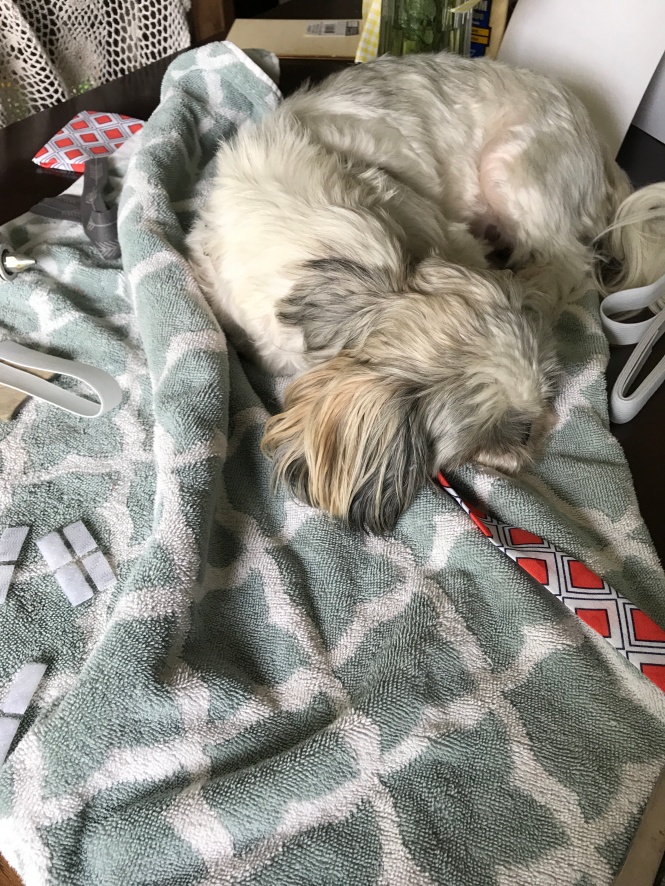
Take a picture of your little helper (not helping) but ohh so cute & sleepy!

IMG_2658

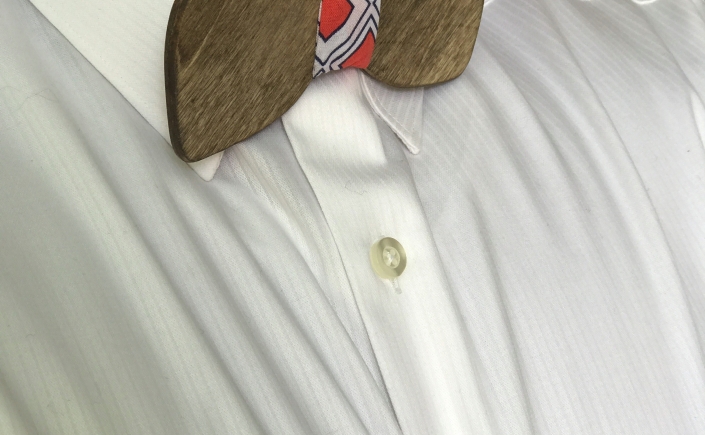
And here they are!!!!   LOVE!  They were easy and fun to make.  You can get so creative with the shapes and colors.  I want to make more!!!  Now…you ready to see how my husband looked wearing them?!  Scroll down….

IMG_2659

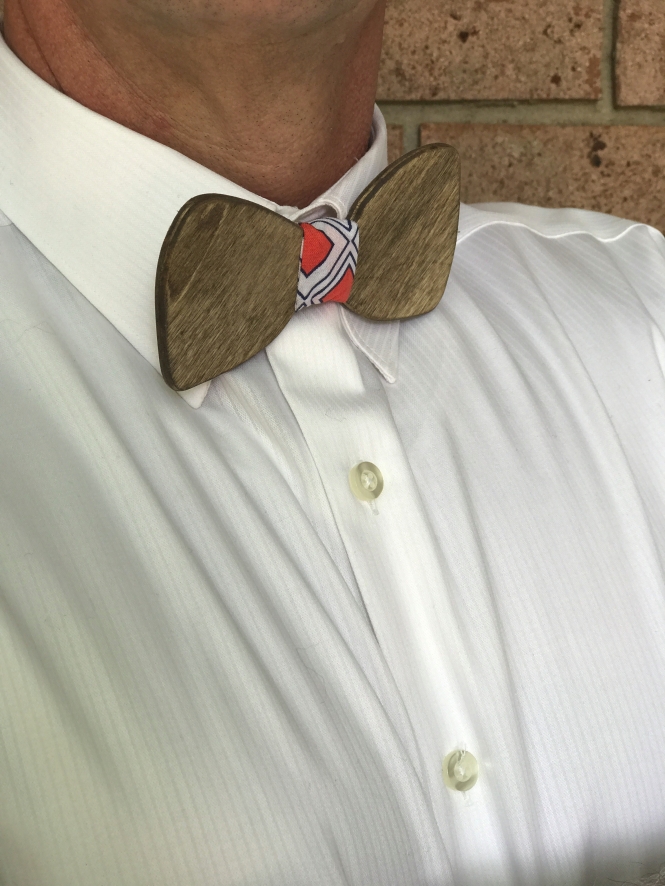
Here’s my handsome, debonair man!  He thought his bow ties were the coolest gift!  And it was HIS idea to pose for me!!

IMG_2678

He proudly wore one to church and received LOTS of compliments.  He did his share of bragging that lil ole’ me made it for him.  *blush*

IMG_2682

It was so special for me to be able to create something unique for him.  Here’s to 5 years…and 45+ more!

XOXO,

Mrs. Southern Sawdust

Playhouse makeover Part I

Our little playhouse is getting a makeover.  See the original post HERE

Here’s the original photo
IMG_1773

And here’s what it looks like today
IMG_1872
The porch railing came down on a whim.  One side was not secure so I knocked it out.  I then noticed the railing was made out of 2×4’s and decided it would be easier to rebuild than to paint…so down it came!  The porch floor needs to be replaced so it probably had to come down anyway.

Here’s a closer look.  Taking the rail down really made that tiny porch feel more open. I plan to add it back but may reconfigure the layout and enlarge the porch.  Maybe…
IMG_1859

This is a look at the filthy inside! (after we trashed a lot of junk!)

IMG_1860

Christmas decor, craft supplies, old toys, and dead lizards! ICKKK!!!


IMG_1861

Out came the carpet!!

IMG_1866

so now we have a cleaner slate to work with.

IMG_1869

I want to add windows but these adorable shutters doors must stay!  I’m thinking of mounting them on the outside as fixed shutters.  I love how the diamond shape is replicated from the front door.

IMG_1864

I want to add insulation to the ceiling and walls but will keeping the beams exposed.  I want the back wall to be an accent wall and the other walls a solid color, possibly white.  Distressed #shiplapwall or #palletwall  ????

IMG_1863

Progress is being made but I have a long way to go…and so many possibilities its hard to decide!!!  That’s why I suggest having a decorator….my Zoey has great tastes!

IMG_1868

Do you have a 4 legged helper?

Please feel free to share any decorating tips/ideas that you may have for my makeover.  I appreciate the feedback!


DIY Backyard waterfall

My husband and I like to plan one new feature or update in our yard every year.  This year we decided to makeover our fish pond by adding a waterfall that flows into the pond.  The pump died months ago so sprucing up this eyesore was overdue.

IMG_1712

We already had the pond insert and basic shape so we just needed to add some height. We positioned some HEAVY stone thingys ?? (found them on the side of the road one day) for the base.  We moved these around until we felt it would be a firm base for the decorative rock to rest on.

IMG_1711

Next we covered the base with a thick pond liner like this one here.  At first, we skimped and went with a thinner liner but it didn’t last 10 minutes.  Splurge and purchase the thicker one from the start.  #trustme  Run your pump hose so it can easily be disguised once you start placing the rock on top.

IMG_1715

Position your decorative rock on top of the liner.  We moved rock around for at least an hour trying to get the drops and water sounds pleasing to the eyes and ears.  (Most of the rock we pulled from various locations around our yard.  We ended up buying a few (3-4) flat stones that we used as stepping stones around the pond.

*TIP…place your pump (purchased HERE) in a bucket full of water and test out the stream to see how the water flows.   Another way to test it is to take the water and pour it straight from the bucket over the top and down the front of the formation.  That way you can visualize where the water will flow without having to turn on the pump.  (I spy cute legs!) #notmine 🙂

IMG_1717

We landscaped the area around the pond with fresh mulch and added some greenery.

Let’s take another look….from THIS

IMG_1711

to THIS!  We are SO pleased with the outcome and love this little corner of our world.  It really is the focal point of our backyard now.

IMG_1780

Honestly, I wondered if the sound of water running constantly might get annoying but it has been very soothing.  Every night, we look forward to relaxing by our outdoor oasis!

Do you have any outdoor summer projects planned?

Playhouse makeover

We had high hopes and big dreams for our granddaughter to use this shed as a playhouse.  We even painted it her favorite color! (cringe)  Blends in nicely don’t you think?!  LOL  #thethingswedoforgrandbabies

She did use it from time to time but not as much as we expected so my plan is to GLAM IT UP!  I have a feeling she will  use it more once its updated since she’s 5 going on 15! #timeslowdown

IMG_1773

A tiny porch…so charming!

IMG_1774

I love how it’s tucked in the corner… semi-private.  I envision my husband and I having candlelight dinners in here!

IMG_1775

Bye, bye pink…hello white walls!

IMG_1776

and a MINT DOOR!  I had some swatches in my hand and noticed this on the discount shelf and BINGO!  Just the color I was looking for!

IMG_1777

The pic doesn’t do the color justice.  Yummy, fresh and clean!

I was able to test out the colors this weekend and I’m already IN LOVE already!  I plan to tackle the outside first then work my way indoors.  Ugh…nothing pretty in there…YET!

Stay tuned…..

Linked to:

Celebrate Your Story

Homemade Ravioli w/ Tomato Cream Sauce

Hello folks!  Southern Sawdust here.  I enjoy spending time outdoors and in my garage working on my wood projects, but I love my kitchen even more!  And I spent a lot of time there this weekend!  For starters,  I got a head start on my contribution to our pot luck Easter Sunday meal at my sisters.

pot·luck
ˌpätˈlək/

noun
a meal or party to which each of the guests contributes a dish.

“a potluck supper”

I made a 7 layer salad, a classic green bean casserole, Conestoga yeast rolls and Dirt cake. YUM!  It was great creating some of the traditional springtime foods but my culinary highlight of the weekend was THIS…Homemade Ravioli! IMG_0902

I am 1/4 Italian (paternal grandmother) and true to my roots, I LOVE Italian food.  One of my brothers and I have a tradition of making pasta from scratch every so often.  He lives closer now (YAY!) so hopefully this tradition will become more frequent.  Next time, my plan is to visit my Nonna and cook with the master.

It takes very few ingredients to make pasta…flour, (Semolina or All-Purpose) egg (slightly beaten), salt and water/olive oil.  A pasta machine is not necessary but helpful.

IMG_0871
Mix the flour and salt then make a well in the middle.  Add the beaten egg then incorporate the flour a little at a time until a stiff dough forms.
IMG_0873
On a lightly floured surface, knead the dough for several minutes.
IMG_0876

Hand roll or use a pasta machine for desired thickness. YES…we are messy cooks!

IMG_0890

We made a meat filling using lots of garlic, pepperoni, ground beef and sausage, crushed tomatoes, tomato paste, Romano cheese and Italian seasonings.

IMG_0897

Lay one pasta sheet flat and lightly brush water over the dough.  Spoon mounds of the filling, about 2 teaspoons each, onto the damp half of the dough.

IMG_0901

Leave about 1/2 inch between the mounds. IMG_0902

Lay the dry half over the sheet lengthwise to cover the filling. Press the sheets together and use fork tines to seal the edges.  Use a knife or pastry cutter to cut individual ravioli. Cook, uncovered, into salted, gently boiling water until the pasta is al dente, firm to the bite, 2 – 3 minutes.  IMG_0899

Serve with your favorite sauce.  I used a tweaked version of this Tomato Cream Sauce. Ahh mazing!

IMG_0903

We shared our labor of love with family, friends, great wine!  Just like Nonna would do. (My Nonna lives less than 2 hours from me so I’ll be seeing you soon!  Ciao Bella)

Here is a picture of her birthplace, Trieste, Italy….wow, that was a trip of a lifetime!

5476645760_0e3f20ee78_m

Have you ever made pasta from scratch?

Have you ever visited Italy?  If so, what region?

Ps….Don’t forget to visit my cousins new blog Delight & Flourish

Linked to:

Celebrate Your Story 


DIY Sugar scrub

It’s been a long time since you’ve heard from Southern Sawdust / Alabama Spice but no worries, we are still alive and kicking.

You can thank my cousin for the comeback story.  She’s a Nashville native and has started her own blog Delight & Flourish!!!  I’m so excited to share her food, travel and fashion stories with you.  Please show her some love!  Congrats Sara and happy posting! Love YOU!!!

On to the DIY!  For Easter I wanted to make something for the older bunnies in my life and I decided on homemade sugar scrubs.  I ended up making 2 to choose from.
(Links are provided (click on the name)
1. Cinnamon Coffee Sugar Scrub

2. Vanilla Pumpkin Spice 

For some reason I had fall scents on the brain last night.  However, I do have the ingredients to make myself some refreshing summer scrubs.  🙂

I would venture a guess that most of the ingredients you already have on hand but if not, they are readily available and inexpensive at your local market.

Pictured below are my ingredients.  I tossed everything into my stand mixer fitted with a paddle attachment then mixed until all the ingredients were well combined.

IMG_0830

I spooned the scrub into small jars

IMG_0832

Then sealed them tightly.

IMG_0836

I just need to pretty them up with some twine and tags and they are ready for the Easter baskets.
The smells are divine and all ingredients are edible so in case you get hungry in the bathtub>>>>>(keep that to yourself)!

I hope you try this super simple recipe!  Be sure to carve out some time for yourself to enjoy the softness of your skin and delicious aroma!

Happy Easter!

HE IS RISEN!

Luke 24:2-3 “And they found the stone rolled away from the tomb, but when they went in they did not find the body of the Lord Jesus.”


Cricut Obsessed

I recently purchased a Cricut machine and it has been SO MUCH FUN!  Lately, I’ve been making t-shirts with iron-on vinyl.  Here’s a quick look at how its done…

image

I have an Expression 2 and use Cricut Craft Room for my designs.  {Heat transfer needs to be rotated to a mirror image before cutting}

image

This little machine does all the work.

image

HTV {heat transfer vinyl} must be placed bottom up on the mat, the machine cuts from the top, so that’s why you need the mirror image.

image

Once cut, you will “weed” or peel away the excess vinyl.  Now your design is ready to apply!

image

Using the recommended settings, center your design then apply heat with an iron.

image

Gently peel away the clear film…

image

TA-DA!  All done!

image

I love being able to work with my hands

image

and to create something unique.  Thanks Cricut…I am now obsessed! lol

Lovely Little Link Party

Creativity Unleashed

Jelly cupboard makeover

Hello!  Whew….this blog has gathered cobwebs rather quickly!  Even though the ole’ blog has taken a summer break it doesn’t mean that we have!  I have lots to catch you up on.

First!  I must share how proud I am of Mrs. Alabama Spice!  She is currently out of the country on a mission trip.   She’s never left her family for this length of time.  She’s never been this far from home.  She’s never flown on a plane and she’s never been out of the country.  WOW!  How’s that for being out of your comfort zone!  She felt a calling and didn’t give into the fear of the unknown! Now that’s displaying full faith and obedience!  I pray for safety, opening of hearts to God’s love and forgiveness and that lives will be touched and changed forever.  May the message of our Savior continue to reach near and far.

Mark 16:15New International Version (NIV)

15 He said to them, “Go into all the world and preach the gospel to all creation.”

So, here’s my latest makeover.  This jelly cupboard started out in my sister’s home.  It then moved on to my Mom’s, where it remained for many, many years.  I’m happy to say that it’s finally made its way into my home!

image

The doors and drawers have been removed.


I sanded it down really well and brighten it up with a fresh coat of Sherwin Williams “Glimmer”.

image

Then it sat like this for weeks.

I wanted to change out the old knobs but honestly, haven’t taken the time to shop for anything yet.  But, as fate would have it, I found the PERFECT vintage/sparkle at an estate sale with my sister.  And I wasn’t even looking for them.  I almost put them back because I didn’t know where to use them.  Ha!!  I’m so glad I didn’t.  {Hint!  Always buy beauties like these!}

image

I used a drill bit to make the screw hole a little larger. Other than that, they look like they were made for this piece.

I needed 6 knobs total and guess how many we found at the estate sale….SIX!  Fate I tell you!

image

I love how it fills in this unused corner of our kitchen.

image

I am still trying to get my decorating just right  but for now I love looking at this pretty thing.
Thanks Sis & Mom for the hand me down!  What else you got for me? 😉

Lovely Little Link Party

Creativity Unleashed

Celebrate Your Story

Talk DIY to Me

Lovely Little Link Party

From Grilling to Drilling

SO I did it! It happened! Wait what? I finally built something. Ok ok with the help of the hand dandy Southern Sawdust behind the scenes here. Let me explain…

My grandmother just recently did some remodeling and she gave me her old farmhouse table and chairs. Well, the seats of the chairs are the kind that look like sack string were sewn in the bottoms. They are finally falling apart. I’m 27 years old and they are finally throwing in the towel. (I know she had them long before me)

I was talking with Mrs Sawdust and told her I needed something to put there so my children were not sitting on the floor eating dinner. Now, I already have one white bench on one side of the table so I was thinking why not make a simple bench to go on the other? HA! Simple?? What was I thinking? This was one of the hardest things I had ever done. I panicked a few times, drilled my hand, dropped the screws… need I go on? So without further adieu, i’m pleased to introduce to you the new addition to my kitchen. The kid was already there but isn’t he just the cutest??image

So here we go, first her hubby had the boards cut to the correct length for me. Thank you Mr Sawdust!! Now they made me do all the cutting with the jigsaw. It was not all that bad once I got used to it. Which was the last part of the last leg 🙂 Just kidding, no really. imageimageimage

Next we had to assemble the bench, this is where my little helper came in to play. imageimageimageimage

Next thing I knew, my bench was COMPLETE! image

All joking aside, it was the most rewarding feeling. I was so proud of myself. I didn’t realize how hard that was and what detail goes into DIY. Mrs Sawdust BRAVO!!

So I now have another project going on for a Window Pane Chalkboard. Thank you Lauren over at Bless’er House for the idea.

Have a great day!

Mrs Alabama Spice

Funky Polkadot Giraffe

Sugar Bee Crafts

DIY Porch Swing for under $30

I’ve been wanting a porch swing for some time now so this past weekend I decided it was time to make one.  My goal was to keep this build as inexpensive as possible and I’m happy to say that was definitely achieved!  This swing only cost around $30!
Here’s how….

image

I used scrap wood to make the frame and supports for the seat

image

I cut down a pallet to make the backrest for the swing

image

I attached the two pieces together with screws

image

For the seat slats I used a broken down pallet and some fence board

image

I decided to craft drink holders

image

and after A LOT of sanding it was worth the worn fingernails!

image

I bought a porch swing chain kit at Lowe’s and 4 screw hooks and that was my only expense!

image

We have already enjoyed some lazy afternoons relaxing in our new swing!

$30 well spent!

Inspire Me Monday

Whimsy Wednesday

Celebrate Your Story

Show & Tell